
2026/7/23大约 4 分钟
修改主配置文件
vi /etc/ansible/hosts
主配置文件
# This is the default ansible 'hosts' file.
#
# It should live in /etc/ansible/hosts
#
#   - Comments begin with the '#' character
#   - Blank lines are ignored
#   - Groups of hosts are delimited by [header] elements
#   - You can enter hostnames or ip addresses
#   - A hostname/ip can be a member of multiple groups

# Ex 1: Ungrouped hosts, specify before any group headers:

## green.example.com
## blue.example.com
## 192.168.100.1
## 192.168.100.10

# Ex 2: A collection of hosts belonging to the 'webservers' group:

## [webservers]
## alpha.example.org
## beta.example.org
## 192.168.1.100
## 192.168.1.110

# If you have multiple hosts following a pattern, you can specify
# them like this:

## www[001:006].example.com

# You can also use ranges for multiple hosts:

## db-[99:101]-node.example.com

# Ex 3: A collection of database servers in the 'dbservers' group:

## [dbservers]
##
## db01.intranet.mydomain.net
## db02.intranet.mydomain.net
## 10.25.1.56
## 10.25.1.57

# Ex4: Multiple hosts arranged into groups such as 'Debian' and 'openSUSE':

## [Debian]
## alpha.example.org
## beta.example.org

## [openSUSE]
## green.example.com
## blue.example.com
[dmz_cluster]
192.168.31.130
192.168.31.131
192.168.31.132
192.168.31.133
192.168.31.135

[dmz_cluster:vars]
ansible_user=root
ansible_ssh_pass=123456
在文件末尾添加以下内容(将你的 Web 节点和 LB 节点分组):
[dmz_cluster]
192.168.31.130
192.168.31.131
192.168.31.132
192.168.31.133
192.168.31.135

[dmz_cluster:vars]
ansible_user=root
ansible_ssh_pass=123456
注:虽然现在为了实验方便使用了明文密码,但在真实生产环境中,建议使用 SSH 密钥对(先跑起来后面会修改)。
修改 vi /etc/ansible/ansible.cfg
由于我们暂时使用明文密码登录我们需要禁用ssh指纹验证(需要安装sshpass)
在文件末尾添加一下内容
[defaults]
host_key_checking = False
ansible.cfg配置文件
# Since Ansible 2.12 (core):
# To generate an example config file (a "disabled" one with all default settings, commented out):
#               $ ansible-config init --disabled > ansible.cfg
#
# Also you can now have a more complete file by including existing plugins:
# ansible-config init --disabled -t all > ansible.cfg

# For previous versions of Ansible you can check for examples in the 'stable' branches of each version
# Note that this file was always incomplete  and lagging changes to configuration settings

# for example, for 2.9: https://github.com/ansible/ansible/blob/stable-2.9/examples/ansible.cfg
[defaults]
host_key_checking = False
为什么要修改?
简单来说,host_key_checking = False 的作用就是:取消 SSH 首次连接时的“身份确认”提问。
1. 关掉它之前(默认状态)
当你第一次 SSH 连接一台新机器(比如 131)时,系统会停下来问你:
"我不认识这台机器,你确定要连接吗?(yes/no)"
这时候,自动化工具(Ansible/sshpass)会因为没人帮它敲 yes 而直接卡死或报错。
2. 关掉它之后(设置成 False)
Ansible 会直接略过这个提问,闭着眼睛直接连。
- 好处:你的自动化脚本可以一次性顺畅地跑完 100 台机器,不再需要人工干预。
- 代价:安全性略微降低(无法防范极罕见的“中间人攻击”),但在你的内网实验环境下,这是必须的操作。
一句话总结:这是为了让你的 Ansible 能够“自动”跑起来,而不被 SSH 的安全询问拦在门外。
连接测试 (Ping)
保存退出后,运行以下命令测试 Ansible 是否能穿透防火墙控制所有机器:
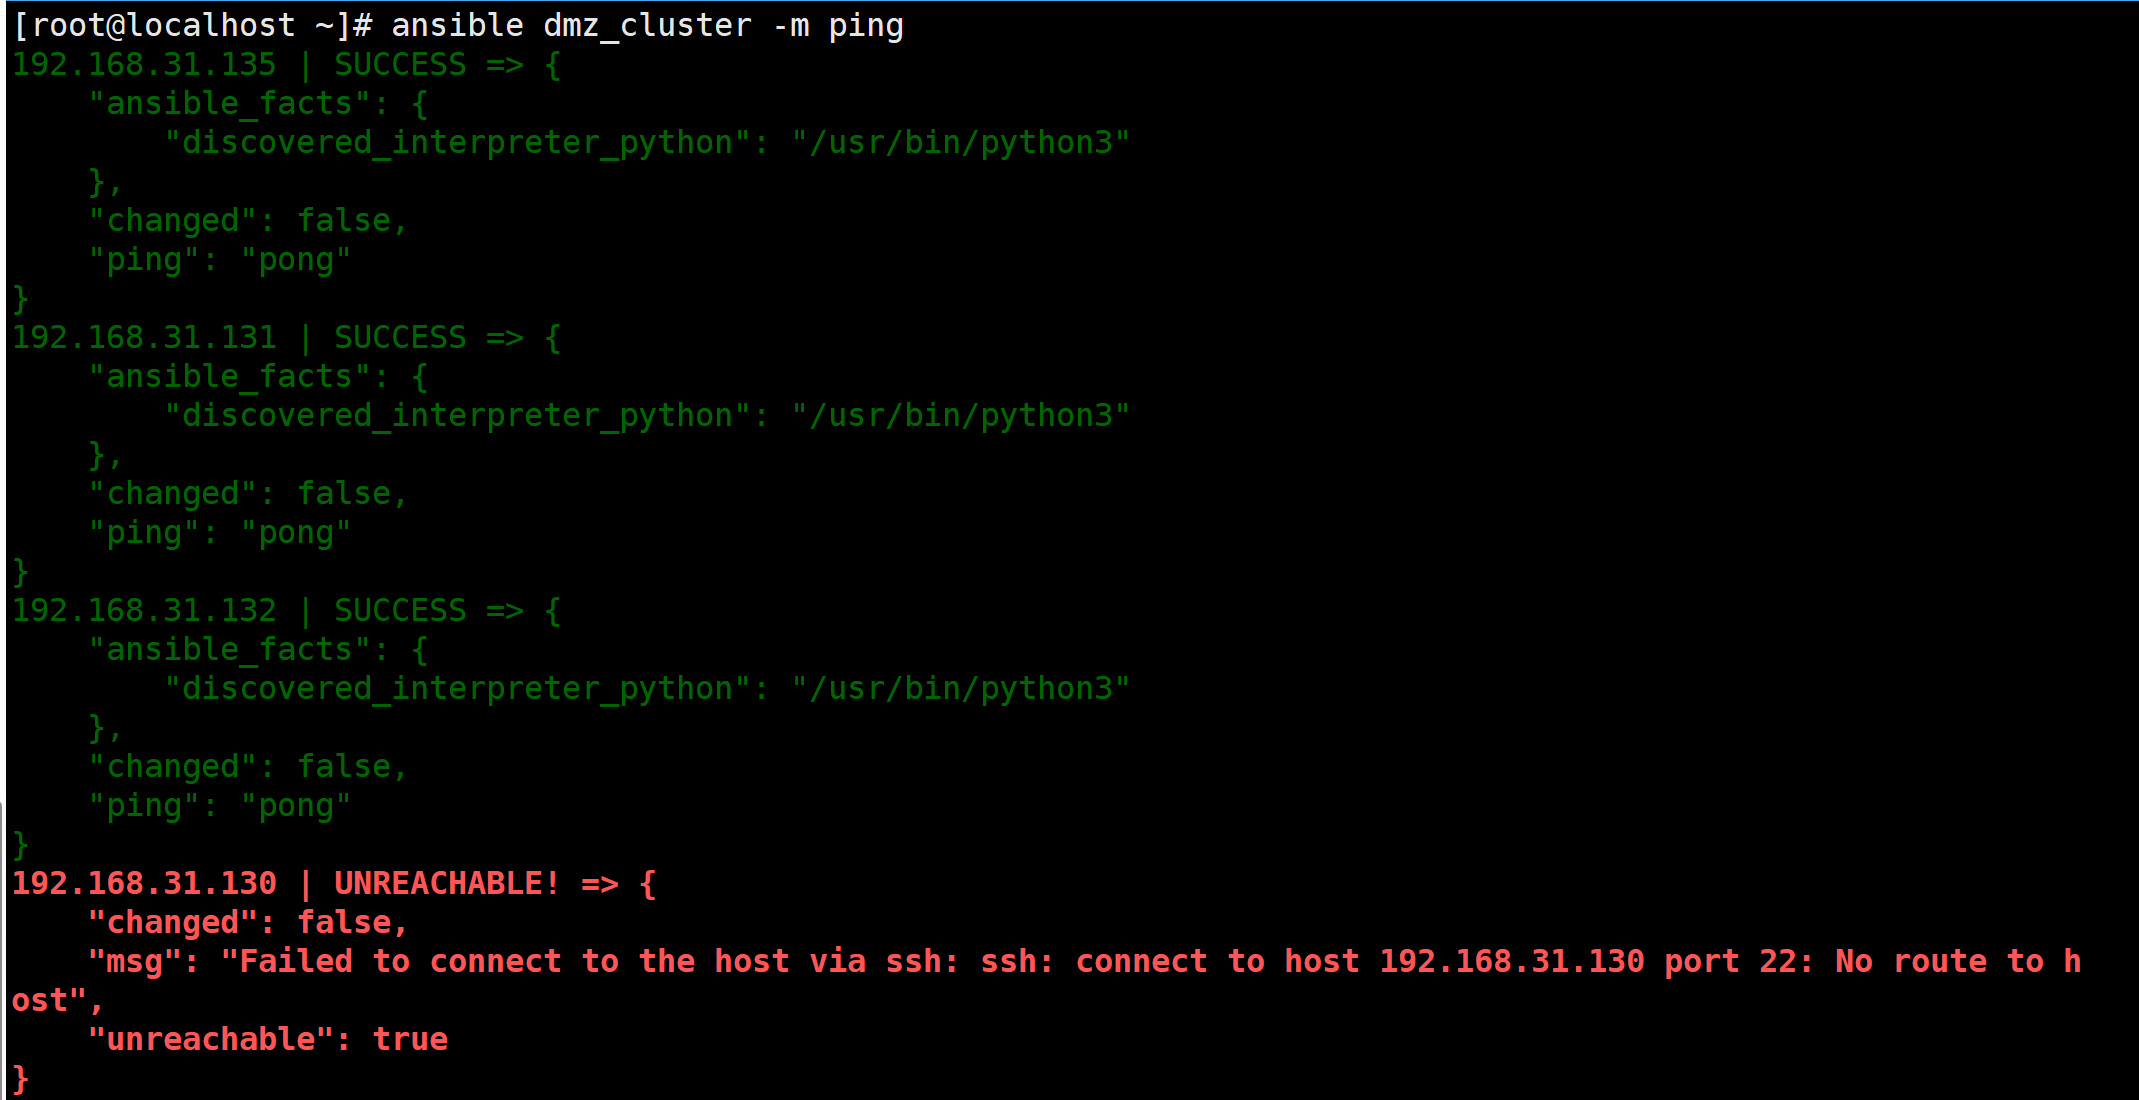
ansible dmz_cluster -m ping你会看到类似这样的输出:
- 绿色 (SUCCESS):表示连接成功。
- 红色 (UNREACHABLE):如果报错,通常是因为 SSH 首次连接需要手动确认指纹(可以通过修改
ansible.cfg跳过,或者先手动 SSH 连一次)。
一键检查所有机器的防火墙
既然你刚才手动设置了防火墙,现在可以用 Ansible 一行命令检查所有机器的状态,确保 80 端口都开着:
ansible dmz_cluster -a "firewall-cmd --list-all"SSH 密钥对登录
在企业级 AIOps 环境中,SSH 密钥对登录比明文密码安全得多,因为它能有效抵御暴力破解,同时也是 Ansible 实现真·自动化(不需要 sshpass 和明文密码文件)的前提。
在jumpserver服务器上生成密钥对
ssh-keygen -t rsa -b 4096 -N "" -f ~/.ssh/id_rsa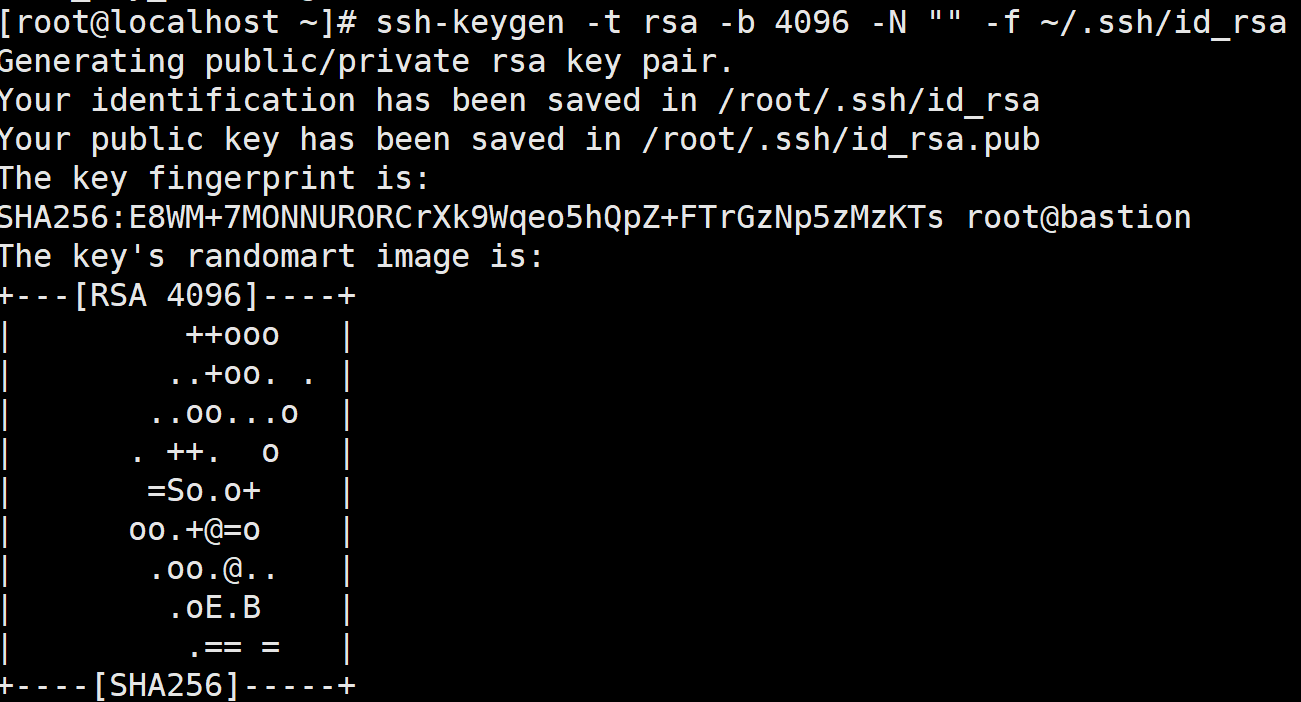
利用 Ansible 批量分发公钥
ansible dmz_cluster -m authorized_key -a "user=root key='{{ lookup('file', '~/.ssh/id_rsa.pub') }}'"修改主机清单,移除明文密码
一旦分发成功,你就不再需要 /etc/ansible/hosts 里的密码了。
- 编辑文件:
vi /etc/ansible/hosts
将内容修改为:
[dmz_cluster]
192.168.31.130
192.168.31.131
192.168.31.132
192.168.31.133
192.168.31.135

[dmz_cluster:vars]
ansible_user=root
# 删掉 ansible_ssh_pass 这一行
测试连接
测试脚本
1. 编写脚本
vi test_nodes.sh将以下内容粘贴进去:
#!/bin/bash

# 定义待测试的 DMZ 节点 IP 列表
NODES=(
    "192.168.31.130"
    "192.168.31.131"
    "192.168.31.132"
    "192.168.31.133"
    "192.168.31.135"
)

echo "---------------------------------------"
echo "开始集群连通性扫描 (2026-03-04)"
echo "---------------------------------------"

for ip in "${NODES[@]}"
do
    # 使用 ping 命令测试网络层,-c 1 表示发 1 个包,-W 1 表示超时 1 秒
    ping -c 1 -W 1 $ip > /dev/null 2>&1

    if [ $? -eq 0 ]; then
        # 如果 Ping 通了,接着尝试 SSH 登录并执行命令(验证免密是否生效)
        # -o ConnectTimeout=1 防止死等
        status=$(ssh -o ConnectTimeout=1 -o BatchMode=yes root@$ip "echo 'OK'" 2>/dev/null)

        if [ "$status" == "OK" ]; then
            echo -e "[\e[32m  UP  \e[0m] $ip - 网络正常 & SSH免密成功"
        else
            echo -e "[\e[33m WARN \e[0m] $ip - 网络通,但 SSH 免密失败"
        fi
    else
        echo -e "[\e[31m DOWN \e[0m] $ip - 网络不通 (机器可能未开启)"
    fi
done

echo "---------------------------------------"
echo "扫描完毕!"
2. 赋予执行权限并运行
chmod +x test_nodes.sh
./test_nodes.sh